
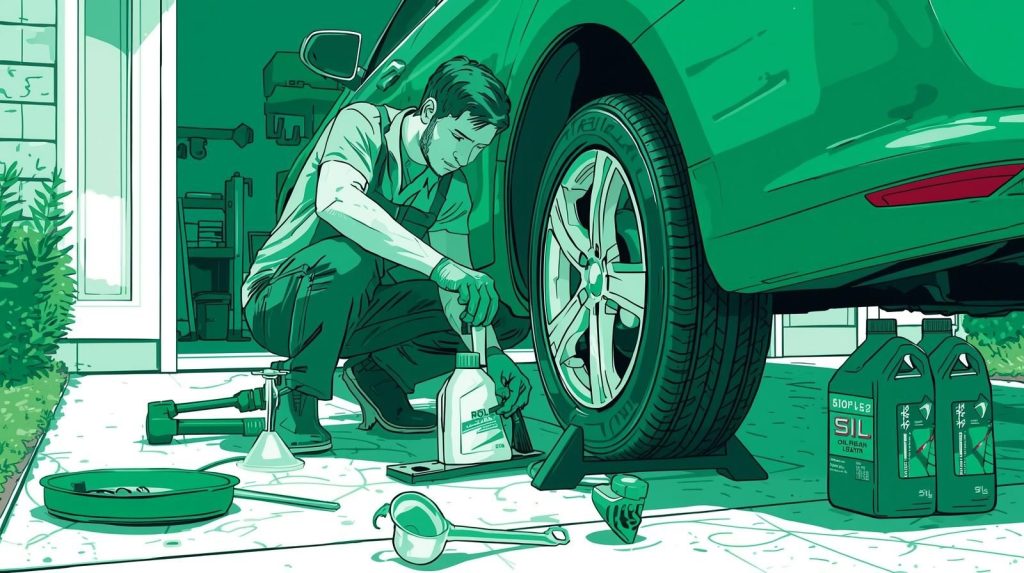
Thinking of doing your own oil change at home to save money and learn a useful skill? This DIY oil change guide walks you through everything, from tools to the proper technique of oil change, so you can confidently maintain your car.
💡 Want to take your car care skills even further? Check out our full guide on DIY Car Maintenance at Home – Save Money with These Repairs for more easy fixes and tips!
Time needed: 30 to 45 minutes
Cost savings: $30 to $80 per change compared to a shop, depending on your vehicle and region
💡 Key takeaways
- A DIY oil change at home can help vehicle owners save money, avoid labor costs, and gain more control over their car maintenance.
- Most DIY oil changes take around 30–45 minutes and can save approximately $30–$80+ per service compared to professional shops.
- The biggest benefits include choosing your own oil type and filter, inspecting your vehicle, and completing maintenance on your own schedule.
- Before starting, always check your owner’s manual for the correct oil grade, oil capacity, and compatible filter specifications.
- Essential supplies include new engine oil, oil filter, drain pan, wrench set, funnel, gloves, rags, and proper lifting equipment such as jack stands or ramps.
- The basic oil change process involves warming the engine, draining old oil, replacing the filter, adding new oil, checking levels, and inspecting for leaks.
- Common DIY mistakes include using the wrong oil, overfilling, underfilling, leaving the filter loose, or overtightening the drain plug.
- Safety is critical when working under a vehicle—always use jack stands or ramps and never rely only on a jack.
- Used oil and filters should be disposed of responsibly through recycling centers or auto parts stores that accept used oil, not thrown away or dumped.
- Replacing the oil filter during every oil change helps keep fresh oil clean and protects the engine from contaminants.
- Synthetic and conventional oils can be mixed in some situations, but using the manufacturer-recommended oil type provides the best performance and protection.
- Proper preparation, the right tools, and following manufacturer specifications make a DIY oil change safe, affordable, and effective.
- Bottom line: A DIY oil change is a practical way to reduce maintenance costs and better understand your vehicle, as long as you use the correct products, follow safety steps, and dispose of used oil properly.
Why Do an Oil Change Yourself?
Cost savings vs risk
- You can cut the labor markup from a shop, saving $30–80+ per change depending on your region
- But DIY comes with risks: stripped drain plugs, leaks, or mistakes with oil type. A recent analysis even found DIYers are ~10× more likely to strip the plug, 15× more likely to leave the filter loose, and twice as likely to leak (costaoils).
- Only attempt DIY if you’re confident, equipped, and willing to take responsibility
Control & quality benefits
- You choose the exact oil grade and filter you trust Nxtoto
- No rushed service or skipped steps
- You can inspect the underside of your car each time
- According to industry data, ~39.7 % of DIYers research before buying oil & filter parts (automotiveresearch).
What You Need: Tools & Parts
Selecting the right oil & filter
- Check your owner’s manual for oil grade (e.g. 5W-30, synthetic)
- Use OEM or high-quality aftermarket filter
- Choose oil volume slightly above your engine’s required capacity (for margin)
Essential tools and safety gear
- Jack + jack stands or ramps
- Oil drain pan
- Funnel
- Socket set / wrench set
- Oil filter wrench
- Gloves, rags, eye protection
- Torque wrench (if available)
- Seal or crush washer for drain plug
Step-by-Step: DIY Oil Change at Home
1. Prepare & warm up engine
Park on level ground, turn off engine, apply parking brake
Jack the car and place it securely on stands
2. Drain old oil
Remove drain plug slowly; allow oil to fully drain (≈5–10 min)
Inspect plug & washer; remove metal shavings if any
3. Replace filter & tighten parts
Lightly oil the gasket of new filter
Screw new filter in by hand until snug, then ¾ turn more
Replace the drain plug with a new washer and torque it to spec, typically 25 to 35 ft-lbs for most passenger vehicles. Check your owner’s manual for your exact number. Overtightening is one of the most common DIY mistakes and it’s what strips the pan.
4. Refill with new oil & check levels
Wait a minute, check the dipstick, and top off to the proper level
5. Run engine & check for leaks
Shut off, wait a couple of minutes, recheck level
Dispose of used oil/filter properly
🔧 “Ready to start your oil change? Find the right filter or engine part fast with the Vehicle Parts Finder at CashNCarryParts.com.”
Common Mistakes & How to Avoid Them
Stripped drain plugs, overtightening, wrong oil amount
Use the correct torque spec (don’t overtighten)
- Avoid mixing oil types or using incorrect grades
- Don’t underfill or overfill — follow manual specs
Poor disposal of used oil/filter
- Many auto parts stores accept used oil & filters for free
- Never dump oil into drains or ground — it’s hazardous
- Drain filters before recycling
Where to Recycle Used Oil in Savannah
Used motor oil doesn’t belong in the trash or the yard. It’s classified as hazardous waste and one gallon can contaminate a huge volume of groundwater if it’s dumped. The good news is disposing of it properly in Savannah is easy and free. Most major auto parts retailers in the area take used oil and old filters at no charge, just pour it into a sealed container (an empty jug works fine) and drop it off during business hours. Drain your old filter of excess oil before recycling it too, most stores will take that as well.
FAQs
1. How often should I change my oil?
Your vehicle manual: Always follow your manufacturer’s recommendation.
Oil type: Conventional oil usually lasts 5,000–7,500 miles, while full synthetic can go 10,000–15,000 miles.
Driving habits: Lots of short trips, towing, or extreme weather mean you may need oil changes more often.
2. What tools and materials do I need for a DIY oil change?
New engine oil — the right type and amount for your car.
New oil filter — one that fits your vehicle.
Oil filter wrench — to remove the old filter.
Socket or wrench set — to loosen the drain plug.
Oil drain pan — to catch the used oil.
Funnel — to pour in new oil cleanly.
Jack and stands or ramps — to lift your car safely.
Gloves and rags — for protection and cleanup.
3. Is it safe to change my own oil?
Let the engine cool before starting to avoid burns.
Use jack stands — never rely on a jack alone.
Tighten the drain plug and filter properly to prevent leaks.
4. How do I choose the right oil and filter for my car?
5. What happens if I use the wrong type or amount of oil?
6. What should I do with the old oil and filter?
7. Can I mix synthetic and conventional oil?
8. Do I need to change my oil filter with every oil change?
Conclusion
Doing an oil change at home is a smart play if you want to save money, gain control, and understand your vehicle. Just follow this DIY oil change guide step by step, avoid common mistakes, and document your work.
“Upgrading or selling your old car parts? Get an instant cash offer and quick pickup today at CashNCarryParts.com.”

